The Future of Web Dev
The Future of Web Dev
Add Niche UI Components to Next.js & shadcn/ui with 8starlabs UI
Add niche UI components to your Next.js project with 8starlabs UI. Built on shadcn/ui with Tailwind CSS integration and CLI installation.

8starlabs UI is a lightweight UI component library for shacn/ui that focuses on niche use cases like transport badges, timelines, and status indicators.
You can quickly install these components through the shadcn/ui CLI and integrate them directly into your Next.js projects.
Features
🎨 Tailwind CSS: Use Tailwind utility classes and maintain consistency with your existing styling system.
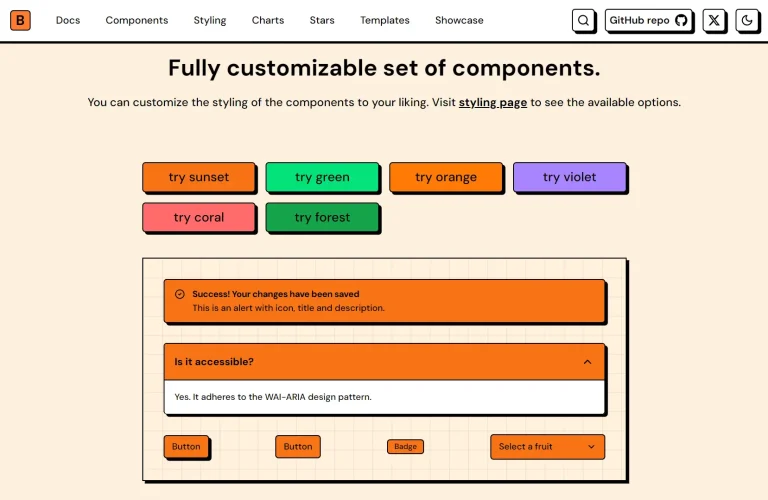
🔄 Customizable: You can customize component states, sizes, and orientations to match your application requirements.
🎯 Next.js Optimization: All components work within Next.js projects that already have shadcn/ui initialized.
📦 ** Modular Architecture**: You add only the components you need. This approach keeps your bundle size small.
Use Cases
- Transport Applications: Display metro station codes, bus route identifiers, and transit system information with standardized badge components.
- System Monitoring Dashboards: Status indicators help you show real-time service health, deployment states, and operational metrics with animated visual feedback.
- Environment Management: System banners display environment labels, deployment stages, and configuration warnings at the top of your application interface.
- Event Documentation: Timeline components let you present project milestones, deployment histories, and chronological data with customizable layouts and alignment options.
How to Use It
1. You first need Node.js version 18+ installed on your system. Your Next.js project must have shadcn/ui already initialized. Run the initialization command if you have not done this yet.
npx shadcn@latest initTailwind CSS must be configured in your project. The shadcn/ui initialization process handles this setup automatically.
2. Install individual components through the shadcn/ui CLI. Each component has a unique JSON configuration file hosted on the library domain.
## NPM
npx shadcn@latest add https://ui.8starlabs.com/r/status-indicator.json
# pnpm
pnpm dlx shadcn@latest add https://ui.8starlabs.com/r/status-indicator.json
# yarn
yarn shadcn@latest add https://ui.8starlabs.com/r/status-indicator.json
# bun
bunx --bun shadcn@latest add https://ui.8starlabs.com/r/status-indicator.json
The CLI downloads the component source code into your project’s components directory. You can then modify the code after installation because it becomes part of your codebase.
3. Import the component into your React files.
import StatusIndicator from "@/components/blocks/status-indicator";
export function StatusIndicatorDemo() {
  return (
    <div className="flex flex-col gap-4">
      <StatusIndicator state="active" label="All systems operational" />
      <StatusIndicator state="down" label="Systems down" />
      <StatusIndicator state="idle" label="Systems idle" />
      <StatusIndicator state="fixing" label="Diagnosing issue, fixing" />
      <StatusIndicator state="active" label="Small size" size="sm" />
      <StatusIndicator state="fixing" label="Large size" size="lg" />
    </div>
  );
}
4. All available UI components:
- Scroll Fade: This scrollable container applies fade effects to the edges. It signals to users that more content exists in specific directions.
- Status Indicator: This visual element shows system or service health. It uses animated dots to represent active, down, fixing, and idle states.
- System Banner: This fixed-position banner sits at the top of the page. It displays environment details or system status messages.
- Timeline: This component maps out events in a sequence. You can customize the orientation, alignment, and spacing to fit your layout.
- Transport Badge: This badge presents transport system data. It supports customizable station codes and names.
FAQs
Q: Does this replace shadcn/ui?
A: No. It complements shadcn/ui by adding specialized components that the core library does not include.
Q: Can I modify component code after installation?
A: Yes. The CLI copies source code into your project directory. You own the files and can edit them directly.
Q: Does this library require a separate npm package?
A: No. Each component installs individually through the shadcn/ui CLI. You do not add a package dependency to your project configuration.
Q: How do I update components after installation?
A: Run the same CLI command again. The tool prompts you to overwrite existing files. You lose custom modifications when updating this way.