The Future of Web Dev
The Future of Web Dev
Open-Source SaaS Boilerplate for Self-Hosted Apps – SelfKit
Open-source SvelteKit boilerplate for self-hosted SaaS apps. Includes user management, billing, analytics, and one-click deployment tools.
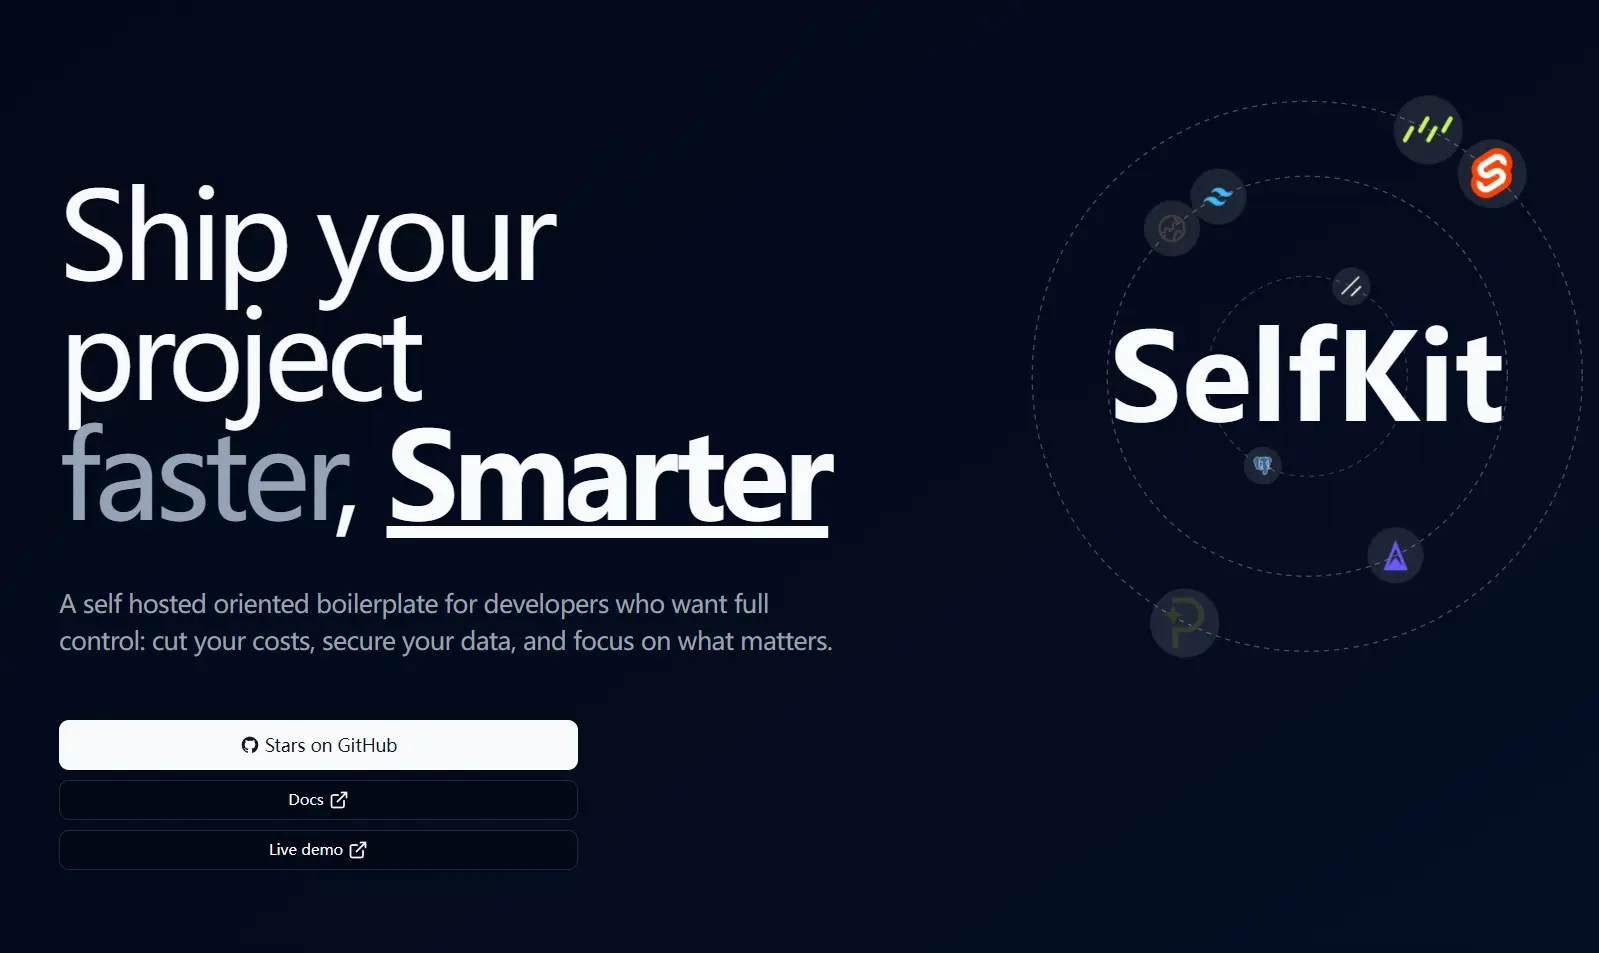
SelfKit is a self-hosting-oriented SaaS boilerplate for developers who need to quickly build and deploy web applications using the SvelteKit framework.
It is suitable for subscription-based services, products with one-time purchases, and other web applications that require user management, payment processing, and content management.
Features
🔐 Complete authentication system with email/password, Google login, and two-factor authentication
💳 Integrated payment processing with checkout pages and subscription management via Paddle webhooks
🔍 Built-in SEO optimization with meta tags, Open Graph, and JSON-LD structured data
📝 Markdown-based blog system with RSS feed generation for content marketing
📊 Analytics tracking integration with Umami for user behavior insights
✉️ Email system powered by Plunk for transactional and marketing communications
🌐 Internationalization support with Paraglide for multi-language applications
🗄️ Automatic database migrations with PostgreSQL and Drizzle ORM
🚀 One-click Coolify deployment with automated setup scripts
📄 Pre-built legal pages including terms of service and privacy policy templates
🎨 Responsive UI components built with Tailwind CSS and Shadcn Svelte
🛡️ Rate limiting and security features for production environments
🧪 End-to-end testing setup with Playwright and GitHub Actions CI/CD
Use Cases
- Launch subscription-based software services that require recurring billing and user management systems.
- Build content management platforms with multi-user access controls and payment processing capabilities.
- Create SaaS tools for small businesses that need self-hosted solutions to maintain data privacy compliance.
- Develop marketplace applications with vendor management, payment splitting, and analytics tracking.
- Build internal company tools that require authentication, user roles, and custom deployment on private infrastructure.
How to Use It
1. Clone the SelfKit repository from GitHub.
git clone https://github.com/selfkit-dev/selfkit.git your-project-name
cd your-project-name
2. Set up your environment configuration by copying the example environment file and updating it with your specific service credentials and database settings.
cp .env.example .env3. Edit the .env file to include your database connection details, API keys for integrated services, and deployment configuration. You will need credentials for Paddle (payments), Umami (analytics), and Plunk (emails) if you plan to use these services.
DB_CONNECTION_STRING=postgresql://postgres:[email protected]:5432/postgres
GOOGLE_CLIENT_ID=
GOOGLE_CLIENT_SECRET=
GOOGLE_REDIRECT_URI=http://localhost:5173/auth/google/callback
PADDLE_API_KEY=
PUBLIC_PADDLE_CLIENT_TOKEN=
PADDLE_PRODUCTS_WEBHOOK_KEY=
PADDLE_SUBSCRIPTION_WEBHOOK_KEY=
PLUNK_URL=
PLUNK_SECRET_KEY=
ENCRYPTION_KEY="L9pmqRJnO1ZJSQ2svbHuBA=="
4. Install the project dependencies using your preferred package manager.
pnpm install5. Start the development environment using Docker Compose to launch the PostgreSQL database alongside your application server.
docker-compose -f docker-compose.dev.yaml up -d
pnpm run dev
6. The application will be available at http://localhost:5173 with hot reloading enabled for development. The database migrations will run automatically when you start the development server for the first time.
7. Deploy your application to production using the included Coolify deployment script. You first need to update the deployment configuration file with your server details.
cd deployment
cp .env.example .env
8. Configure your Coolify server URL, API token, and service settings in the deployment environment file. Then run the automated deployment script to create your production environment.
./coolify_deploy.shThe deployment script will create a new Coolify project, set up your PostgreSQL database, deploy analytics and email services, and configure your application with the necessary environment variables. Monitor the deployment progress through your Coolify dashboard.
9. Test your deployed application by running the included Playwright test suite to verify that all features work correctly in the production environment.
pnpm run testRelated Resources
- SvelteKit Documentation – Official guide for the underlying framework used in SelfKit
- Drizzle ORM – Type-safe database toolkit for the data layer implementation
- Coolify – Self-hosted platform for application deployment and infrastructure management
- Lucia Auth – Authentication library documentation for user management features
FAQs
Q: What makes SelfKit different from other SaaS boilerplates?
A: SelfKit focuses specifically on self-hosting capabilities, allowing you to deploy applications on your own infrastructure using open-source tools instead of relying on expensive managed services.
Q: Can I customize the authentication system for my specific needs?
A: Yes, SelfKit uses Lucia Auth which provides flexible authentication patterns. You can add custom providers, modify user schemas, and implement additional security features as needed.
Q: Are there ongoing costs associated with using SelfKit?
A: The core boilerplate is open-source with no licensing fees. You only pay for your hosting infrastructure and any third-party services you choose to integrate like payment processors or email providers.
Q: How do I handle scaling as my application grows?
A: SelfKit is built with PostgreSQL and can scale vertically on single servers or horizontally using database clustering. The Docker-based deployment makes it easy to migrate to larger infrastructure as needed.