The Future of Web Dev
The Future of Web Dev
Animated UI Components Built with GSAP for Next.js Apps – PaceUI
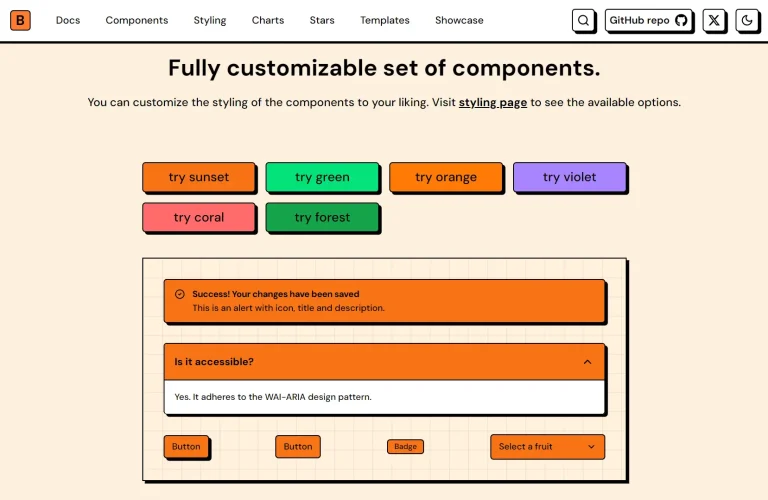
PaceUI is a UI component library that provides a collection of animated UI components for Next.js projects.
These UI components use the GSAP library for smooth & performant animations, and you can copy, paste, and customize them.
Features
⚡ Optimized performance – Built with efficiency in mind
🛠️ Shadcn CLI integration – Seamless installation with familiar tooling
🌗 Dark mode support – Built-in theme compatibility
📱 Responsive design – Components work across device sizes
Use Cases
- Product landing pages – Create engaging hero sections with text reveal animations that draw attention to key messaging and increase conversion rates
- Interactive dashboards – Implement scroll-triggered animations to reveal data visualizations and statistics as users navigate through dashboard sections
- Portfolio websites – Showcase creative work with dynamic text effects that create memorable first impressions
- E-commerce product displays – Use staggered animations to present product features and specifications in an engaging sequence
- Mobile app onboarding – Build smooth, animated tutorials that guide new users through features with text effects and reveal animations
Installation
If your project already uses Shadcn’s CLI, you can skip the initialization and directly add components.
1. For a new Next.js project or to set up an existing one with Shadcn, run the init command:
npx shadcn@canary init -d2. You can now add PaceUI components. For example, to add the TextReveal component:
npx shadcn@canary add "https://paceui.com/r/gsap/text-reveal"This command adds the TextReveal component to your project, typically in src/components/gsap/text-reveal.tsx.
Usage
After installation, you can import and use the components in your Next.js pages or React components.
Here is an example of using the TextReveal component:
import { TextReveal } from "@/components/gsap/text-reveal";
export default function HomePage() {
return (
  <TextReveal>
      PaceUI
  </TextReveal>
);
}
This simple setup will render the text “PaceUI” with the reveal animation.
Manual Usage
If you prefer not to use the Shadcn CLI or if your project is not set up with it, you can add components manually.
1. PaceUI components use Tailwind CSS for styling. You need to install and configure Tailwind CSS in your project. Follow the official Tailwind CSS installation guide for your specific framework.
2. Install the necessary dependencies:
npm install class-variance-authority clsx tailwind-merge lucide-react3. Add the following imports and CSS variables to your main CSS file (e.g., app.css or globals.css):
@import "tailwindcss";
@import "tw-animate-css";
@custom-variant dark (&:is(.dark *));
:root {
      --background: oklch(1 0 0);
      --foreground: oklch(0.145 0 0);
      --card: oklch(1 0 0);
      --card-foreground: oklch(0.145 0 0);
      --popover: oklch(1 0 0);
      --popover-foreground: oklch(0.145 0 0);
      --primary: oklch(0.205 0 0);
      --primary-foreground: oklch(0.985 0 0);
      --secondary: oklch(0.97 0 0);
      --secondary-foreground: oklch(0.205 0 0);
      --muted: oklch(0.97 0 0);
      --muted-foreground: oklch(0.556 0 0);
      --accent: oklch(0.97 0 0);
      --accent-foreground: oklch(0.205 0 0);
      --destructive: oklch(0.577 0.245 27.325);
      --destructive-foreground: oklch(0.577 0.245 27.325);
      --border: oklch(0.922 0 0);
      --input: oklch(0.922 0 0);
      --ring: oklch(0.708 0 0);
      --chart-1: oklch(0.646 0.222 41.116);
      --chart-2: oklch(0.6 0.118 184.704);
      --chart-3: oklch(0.398 0.07 227.392);
      --chart-4: oklch(0.828 0.189 84.429);
      --chart-5: oklch(0.769 0.188 70.08);
      --radius: 0.625rem;
      --sidebar: oklch(0.985 0 0);
      --sidebar-foreground: oklch(0.145 0 0);
      --sidebar-primary: oklch(0.205 0 0);
      --sidebar-primary-foreground: oklch(0.985 0 0);
      --sidebar-accent: oklch(0.97 0 0);
      --sidebar-accent-foreground: oklch(0.205 0 0);
      --sidebar-border: oklch(0.922 0 0);
      --sidebar-ring: oklch(0.708 0 0);
}
.dark {
      --background: oklch(0.145 0 0);
      --foreground: oklch(0.985 0 0);
      --card: oklch(0.145 0 0);
      --card-foreground: oklch(0.985 0 0);
      --popover: oklch(0.145 0 0);
      --popover-foreground: oklch(0.985 0 0);
      --primary: oklch(0.985 0 0);
      --primary-foreground: oklch(0.205 0 0);
      --secondary: oklch(0.269 0 0);
      --secondary-foreground: oklch(0.985 0 0);
      --muted: oklch(0.269 0 0);
      --muted-foreground: oklch(0.708 0 0);
      --accent: oklch(0.269 0 0);
      --accent-foreground: oklch(0.985 0 0);
      --destructive: oklch(0.396 0.141 25.723);
      --destructive-foreground: oklch(0.637 0.237 25.331);
      --border: oklch(0.269 0 0);
      --input: oklch(0.269 0 0);
      --ring: oklch(0.439 0 0);
      --chart-1: oklch(0.488 0.243 264.376);
      --chart-2: oklch(0.696 0.17 162.48);
      --chart-3: oklch(0.769 0.188 70.08);
      --chart-4: oklch(0.627 0.265 303.9);
      --chart-5: oklch(0.645 0.246 16.439);
      --sidebar: oklch(0.205 0 0);
      --sidebar-foreground: oklch(0.985 0 0);
      --sidebar-primary: oklch(0.488 0.243 264.376);
      --sidebar-primary-foreground: oklch(0.985 0 0);
      --sidebar-accent: oklch(0.269 0 0);
      --sidebar-accent-foreground: oklch(0.985 0 0);
      --sidebar-border: oklch(0.269 0 0);
      --sidebar-ring: oklch(0.439 0 0);
}
@theme inline {
      --color-background: var(--background);
      --color-foreground: var(--foreground);
      /* ... (include all other variables from the input) ... */
      --color-sidebar-ring: var(--sidebar-ring);
}
@layer base {
      * {
        @apply border-border outline-ring/50;
      }
      body {
        @apply bg-background text-foreground;
      }
}
4. Add path aliases to your tsconfig.json (or tsconfig.app.json):
{
  "compilerOptions": {
      // ...
      "baseUrl": ".",
      "paths": {
          "@/*": [
              "./src/*"
          ]
      }
  // ...
  }
}
You can change @ to your preferred alias.
5. Create a utility function (e.g., in src/lib/utils.ts) to merge Tailwind classes:
import { clsx, type ClassValue } from "clsx";
import { twMerge } from "tailwind-merge";
export function cn(...inputs: ClassValue[]) {
    return twMerge(clsx(inputs));
}
After these steps, you can manually copy the component code from PaceUI into your project and use it.
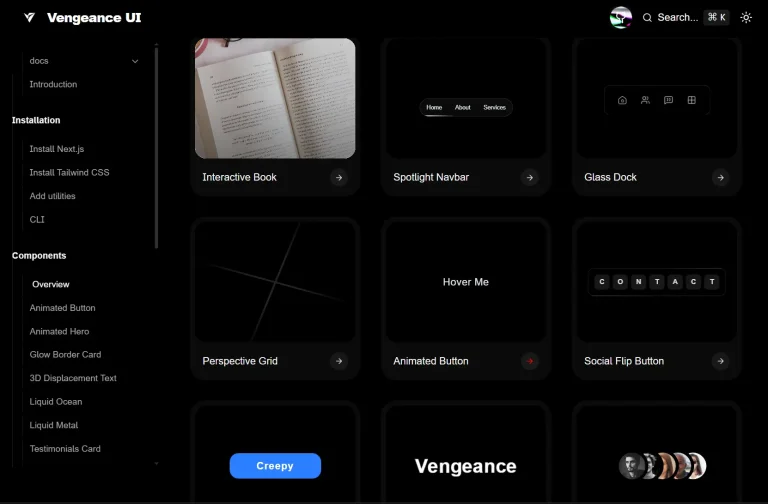
UI Components Included
- Reveal Text: Smooth text reveal animation; each heading reveals related content on interaction.
- Scramble Text: Hover-triggered text effect; scrambles and restores characters with smooth motion.
- Distort Text: Responsive text effect; scrambles nearby characters as the cursor moves across a paragraph.
- Reveal on Scroll: Animates content into view on scroll with effects like fade, slide, zoom, and blur.
- Bouncing Text: Playful animation; characters bounce in sequence across the text.
- Mouse Wave Text: Creates a wave-like bounce effect on text as the mouse moves across.
- Squash Text: Characters bounce and squash into place with playful, dynamic energy.
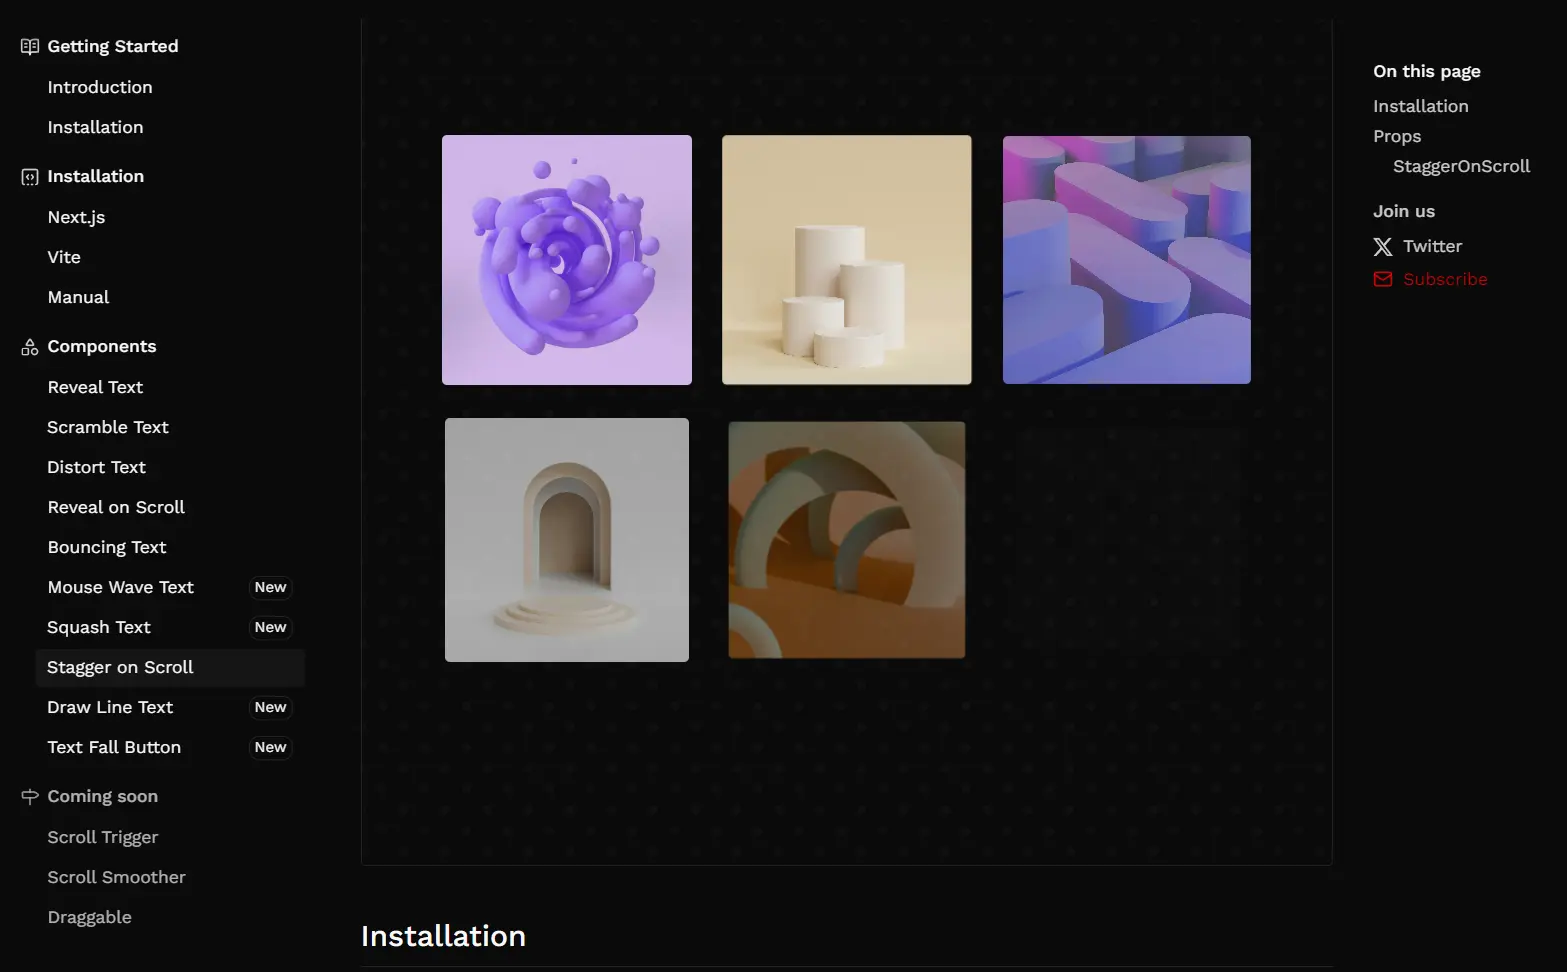
- Stagger on Scroll: Staggers elements into view with scroll-triggered fade, slide, zoom, or blur effects.
- Draw Line Text: Smooth text effect; draws characters as strokes and fills them in.
- Text Fall Button: Button with dynamic text; text falls into place with a smooth, elastic motion on hover or click.
- And More components are planned.
Related Resources
- GSAP (GreenSock Animation Platform): The core animation library that powers PaceUI components. Official Website
- Shadcn UI: A collection of re-usable components that you can copy and paste into your apps. PaceUI uses its CLI and philosophy. Official Website
- Tailwind CSS: A utility-first CSS framework used for styling PaceUI components. Official Website
FAQs
Q: Do I need to know GSAP to use PaceUI?
A: No, you do not need prior GSAP knowledge. PaceUI components are pre-built with GSAP animations. You can use them out-of-the-box.
Q: Can I customize the animations in PaceUI components?
A: Yes, since you copy the component code into your project, you have full control to modify the GSAP animation parameters or the component logic.
Q: Can I use PaceUI with regular React projects, not just Next.js?
A: Yes, PaceUI works with any React project. The Next.js setup is provided for convenience, but the components are compatible with standard React applications.
Q: How do I customize the animations?
A: Once imported, all components can be customized by modifying their props or editing the component code directly to adjust animation parameters.