The Future of Web Dev
The Future of Web Dev
Self-Hosted Blog Platform with Next.js and MDX – Next-blog
Build a self-hosted blog with Next-blog using Next.js, MDX, and Tailwind CSS. No database required, includes admin dashboard and live preview.
Next-blog is an open-source, self-hosted blog system that provides a clean, minimalist way to content creation.
This blog system is based on a file-based content management system that stores posts as MDX files.
You can deploy it on any platform that supports Next.js, like Vercel, Netlify, Railway, and self-hosted environments.
Features
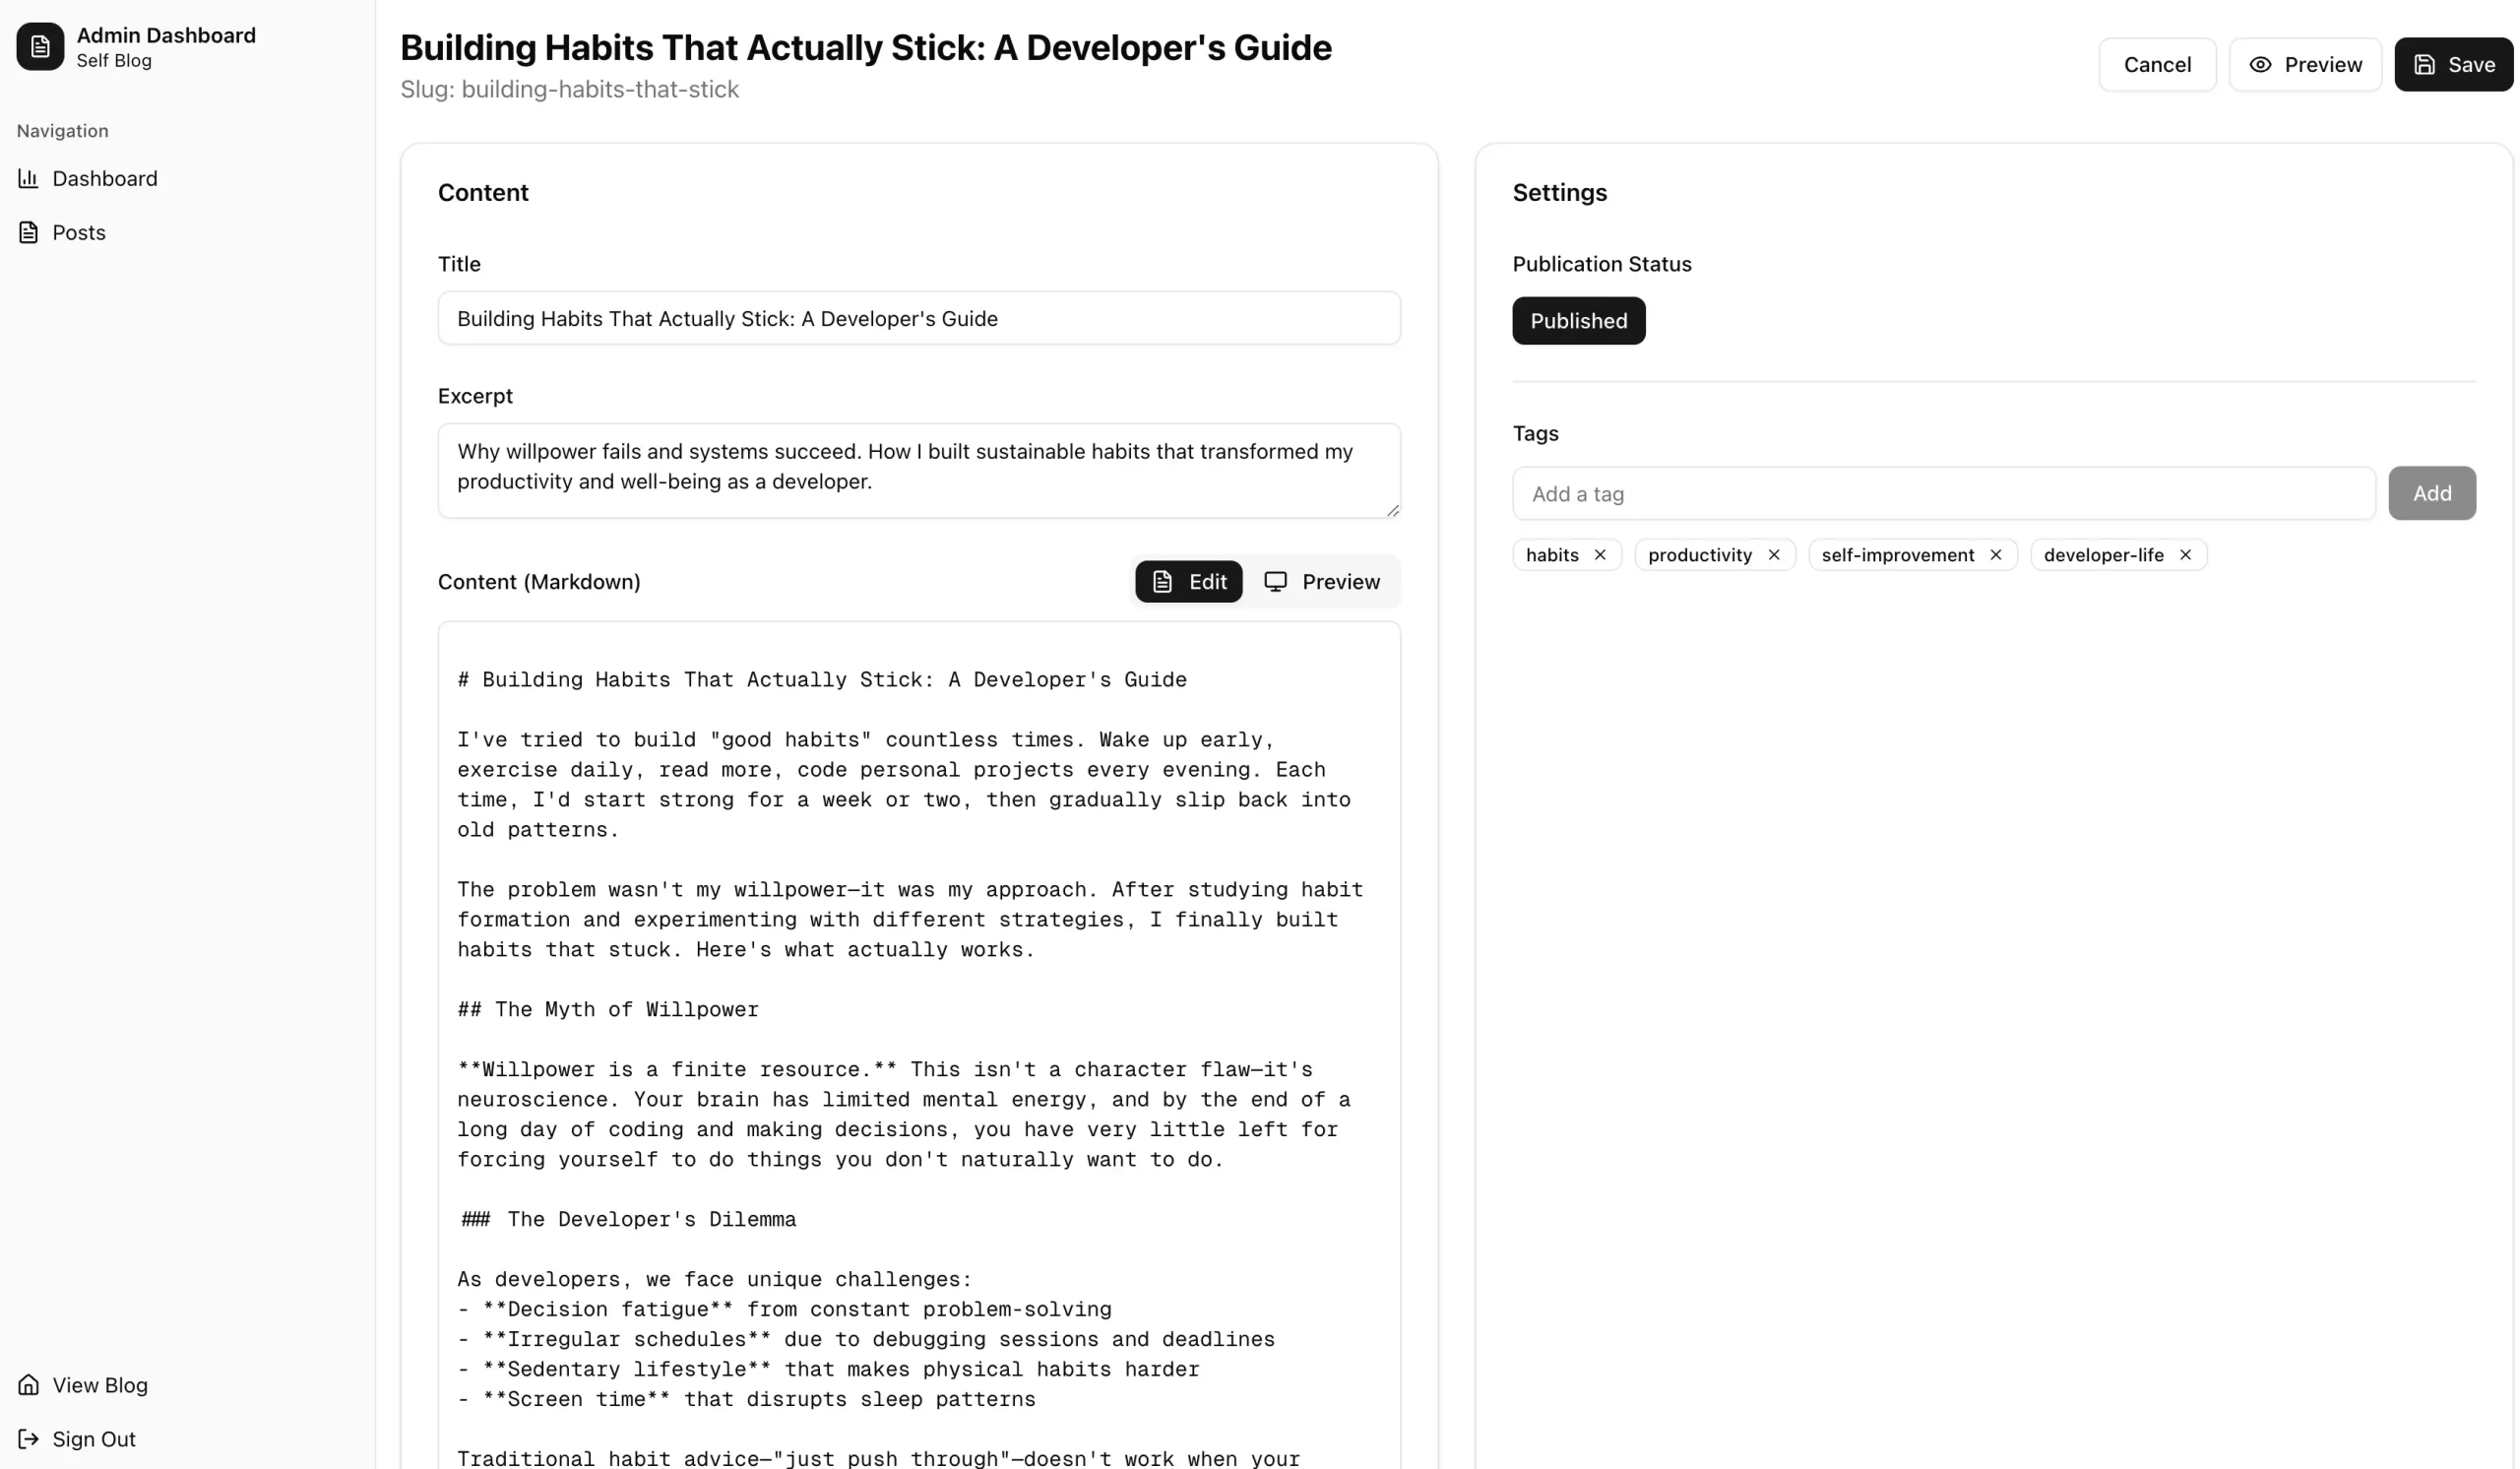
🎯 Admin Dashboard – Clean interface for creating and managing blog posts
👀 Live Preview – Real-time content preview while writing
🎨 Fully Customizable – Fork and modify styling with Tailwind CSS
📁 No Database Required – File-based content storage system
⚡ MDX Support – Write in markdown with React component integration
🔐 JWT Authentication – Secure admin access with JSON Web Tokens
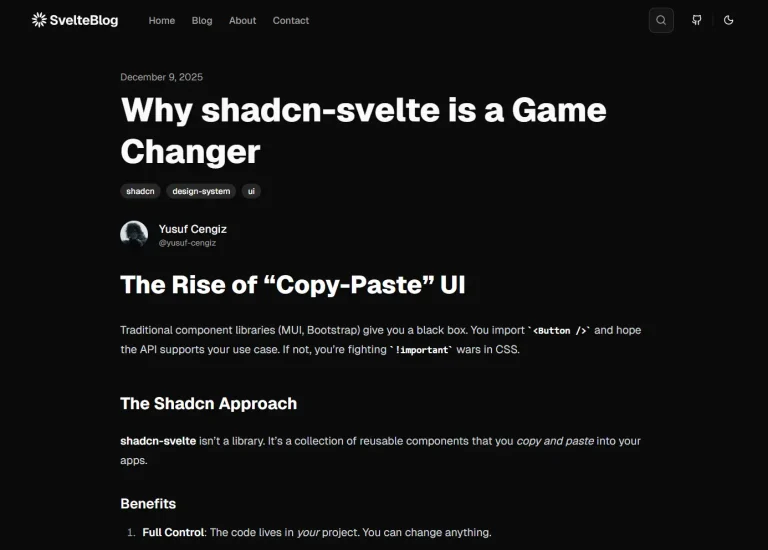
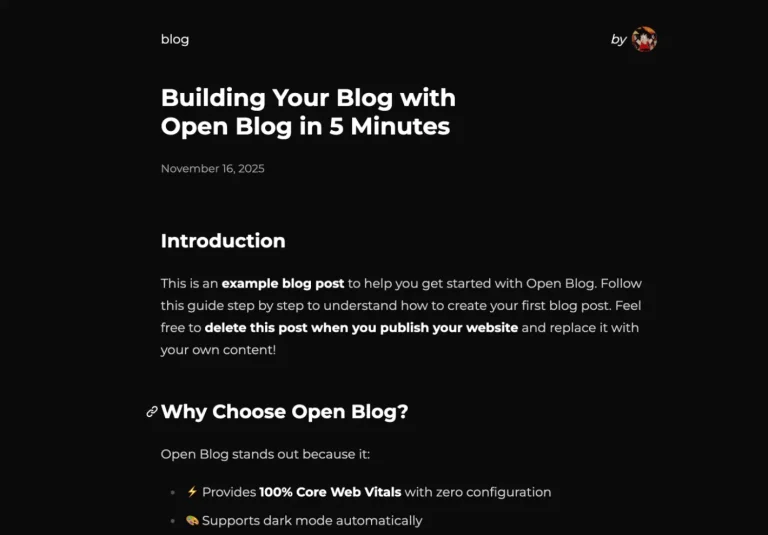
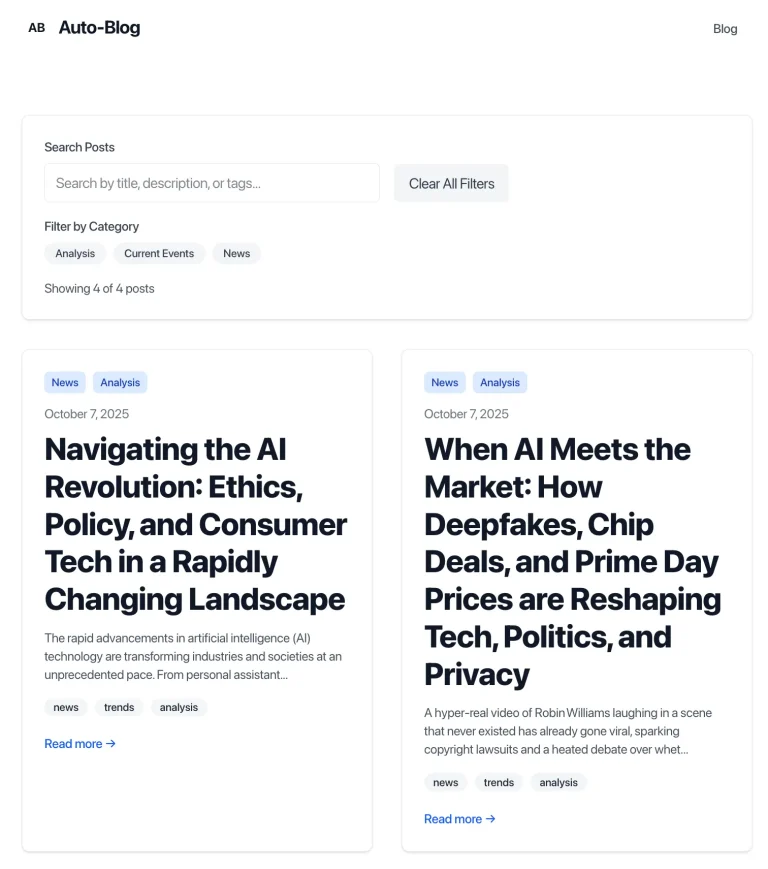
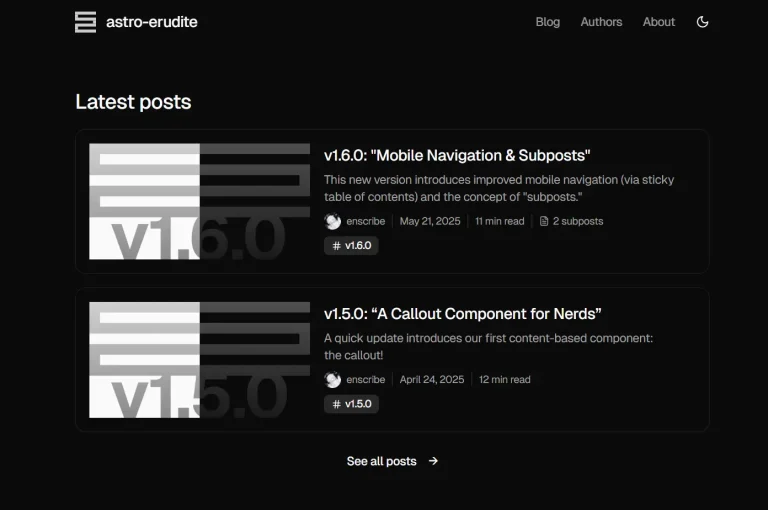
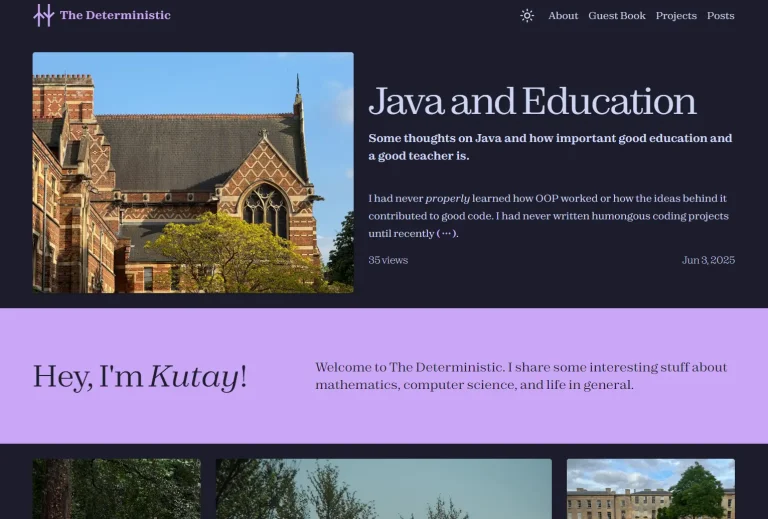
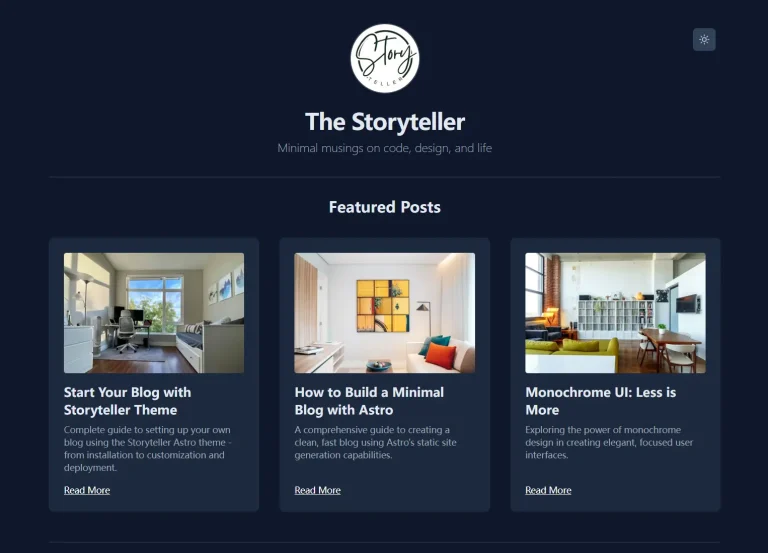
Preview

Use Cases
- Developer Portfolio & Blog: Create a personal site to showcase your projects and write technical articles. You can use MDX to include live code blocks or interactive component examples.
- Project Documentation: Build a documentation website for a software project. The file-based system makes it simple to manage and version control your docs alongside your code.
- Niche Content Site: Launch a focused blog on a specific topic. You get complete control over the design and user experience.
Installation
1. Clone the repository from GitHub:
git clone https://github.com/yourusername/next-blog.git
cd next-blog
2. Install dependencies:
bun install3. Set up environment variables:
cp env.example .env.local4: Edit the .env.local file and add your JWT secret:
JWT_SECRET=your-secret-key-here5. Start the development server:
bun dev6. Access the admin dashboard at http://localhost:3000/login.
Usage
1. Navigate to /login and authenticate with your credentials.
2. Access the admin dashboard to create new posts.
3. Write content using standard Markdown syntax.
---
title: "My First Post"
date: "2025-01-15"
description: "A sample blog post"
---
# Welcome to My Blog
This is a regular markdown paragraph.
<CustomComponent prop="value" />
You can mix markdown with React components seamlessly.
4. Preview your content in real-time using the built-in preview feature.
5. Save your post as an MDX file in the content directory.
6. Edit the content/config/site.json file to modify site settings:
{
  "title": "My Blog",
  "description": "A simple self-hosted blog platform",
  "url": "https://localhost:3000",
  "author": "Blog Author",
  "theme": "minimal",
  "features": {
    "darkMode": true,
    "search": true,
    "rss": true,
    "comments": true,
    "votes": true
  },
  "social": {
    "twitter": "",
    "github": "",
    "email": ""
  }
}
Related Resources
- Next.js Documentation – https://nextjs.org/docs – Official documentation for the Next.js framework used as the foundation
- MDX Documentation – https://mdxjs.com/ – Learn about MDX syntax and React component integration
- Tailwind CSS Guide – https://tailwindcss.com/docs – Comprehensive styling documentation for customization
- Vercel Deployment Guide – https://vercel.com/docs – Deployment instructions for the recommended hosting platform
FAQs
Q: Does next-blog require a database?
A: No, it is a file-based platform. All your posts are stored as local files, which removes the need for database setup or maintenance.
Q: How do I add React components to my blog posts?
A: You can embed React components directly into your content because the platform supports MDX.
Q: How can I change the visual style of my blog?
A: You can customize the blog’s appearance by editing the Tailwind CSS configuration and modifying the components located in the components/ folder.
Q: Can I migrate existing blog content to next-blog?
A: Yes, you can convert existing markdown files to MDX format and place them in the content directory. The platform will automatically recognize and display them.