The Future of Web Dev
The Future of Web Dev
Next.js Fullstack Starter with Supabase & Prisma – Velokit
Build modern applications faster with VeloKit's Next.js starter kit. Includes authentication, database setup, and Tailwind CSS styling.
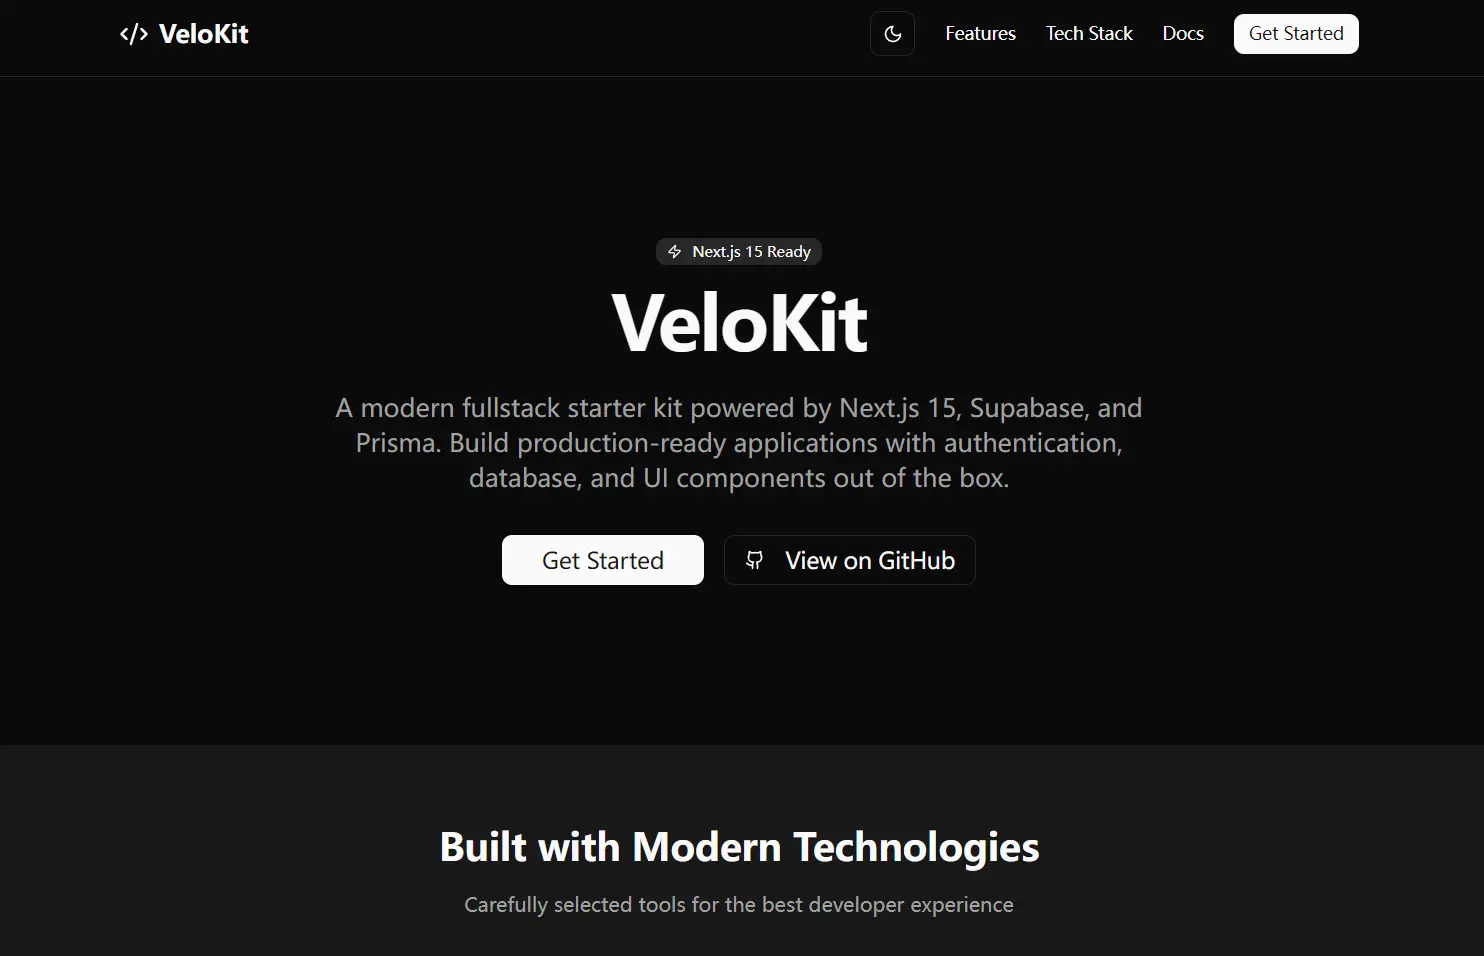
Velokit is a full-stack Next.js starter kit built with the latest Tailwind CSS, shadcn/ui, Prisma, and Supabase.
You can use it to build modern applications that require authentication, database interactions, and a user interface with pre-built components.
Features
🚀 Next.js with App Router for modern React development
🎨 Tailwind CSS with zero-configuration setup and dark mode support
🔐 Complete authentication system using Supabase Auth
🗄️ Prisma ORM integration with Supabase PostgreSQL database
🧩 Pre-configured shadcn/ui component library
🛡️ Role-based access control with Supabase Row Level Security
📱 TypeScript support with strict type checking
🔄 Hot reload capability with Next.js Fast Refresh
📦 Monorepo architecture using pnpm and Turborepo
🌐 REST and Edge API routes ready for implementation
Preview

Use Cases
- SaaS Application Development: Build subscription-based software applications with user authentication, role management, and database connectivity already configured
- E-commerce Platform Creation: Develop online stores with user accounts, product catalogs, and order management systems using the pre-built authentication and database structure
- Dashboard and Admin Panel Construction: Create internal tools and admin interfaces with role-based access control and data visualization capabilities
- Multi-tenant Application Building: Construct applications serving multiple organizations with isolated data access through Supabase RLS policies
Installation
1. Clone the repository to your local machine:
git clone https://github.com/your-username/velokit.git
cd velokit
2. Install all dependencies using pnpm:
pnpm install3. Set up your Supabase project by creating a new project at supabase.com and obtaining your project URL and anon key.
4. Create a .env.local file in the web application directory and add your Supabase credentials:
NEXT_PUBLIC_SUPABASE_URL=your-project-url
NEXT_PUBLIC_SUPABASE_ANON_KEY=your-anon-key
NEXT_PUBLIC_SITE_URL=
5. Run the database migrations to set up your schema:
pnpm db:push6. Start the development server:
pnpm devRelated Resources
- Next.js Documentation – Official Next.js documentation covering App Router, API routes, and deployment strategies. Access comprehensive guides at https://nextjs.org/docs
- Supabase Documentation – Complete guide to Supabase authentication, database management, and Row Level Security implementation. Find detailed tutorials at https://supabase.com/docs
- Prisma Documentation – Learn database schema design, migrations, and type-safe database operations with Prisma ORM at https://www.prisma.io/docs
- shadcn/ui Component Library – Explore the complete collection of accessible React components built with Radix UI and Tailwind CSS at https://ui.shadcn.com