The Future of Web Dev
The Future of Web Dev
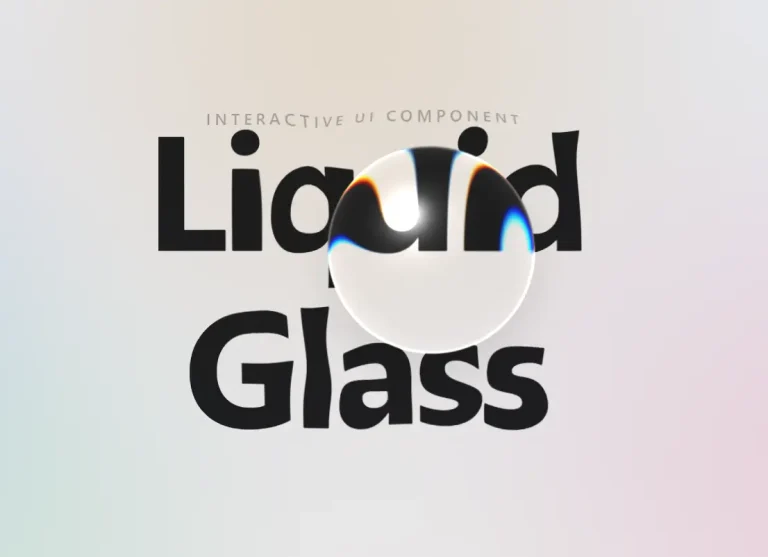
Draggable Liquid Glass Lens Component for React & Next.js
Add cross-browser liquid glass refraction to React content with lens sizing, glow, blur, and imperative movement.
LiquidGlass is a React and Next.js component that renders an Apple‑style liquid glass lens right over live DOM content.
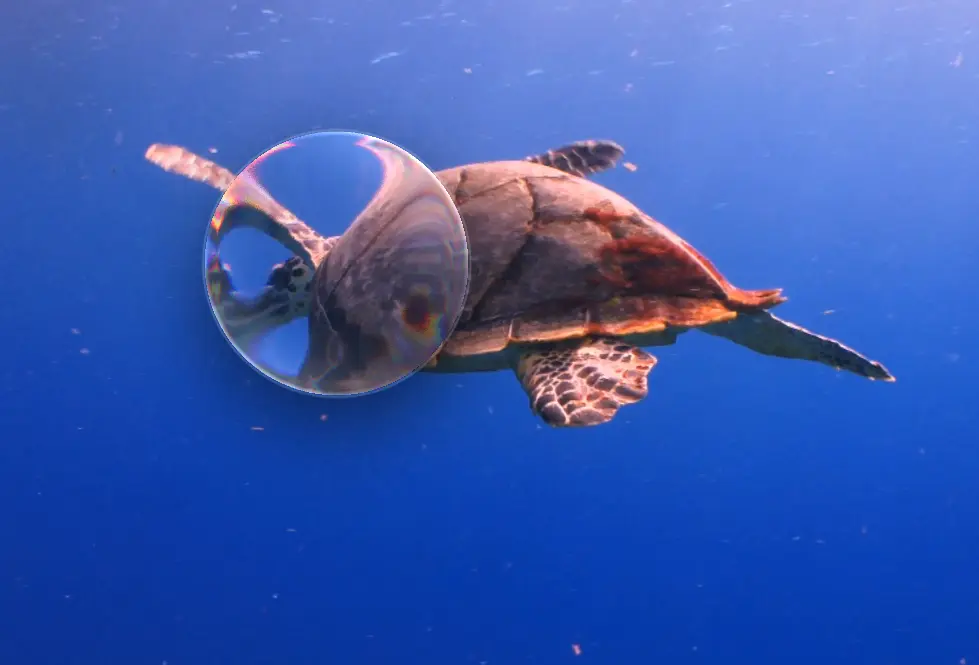
The component wraps your content, creates a movable lens, and applies SVG displacement to pixels already painted by the browser.
Text remains selectable, links remain clickable, video & canvas play on, and child content stays interactive.
Features
- Generates a dynamic displacement map for cross‑browser SVG filtering.
- Refracts live DOM.
- Draggable lens that updates position without regenerating the map.
- Configurable refraction strength, chromatic aberration, curvature, glow, edge highlight, specular angle.
- Frame‑by‑frame animation with zero React re‑renders.
- Works in Next.js App Router (
“use client”) and Remix.
Use Cases
- Product landing pages with a moving glass lens over hero artwork, app screenshots, or pricing cards.
- Dashboard previews where a glass highlight draws attention to a chart, metric card, or selected panel.
- Segmented controls, tabs, and toggle groups that need a liquid selection indicator.
- Image galleries and portfolio pages where the effect should bend visible content while links and text remain usable.
How To Use It
Table Of Contents
Install
npm install liquid-glass-web-reactThe package exports LiquidGlass, LiquidGlassEngine, computeDisplacementMap, renderDisplacementMap, and DEFAULT_OPTIONS. It does not require a documented CSS import in the basic setup.
For Next.js App Router projects, place interactive examples in a Client Component. The bundle is marked with "use client", but an explicit boundary keeps component ownership clear when you add local state, refs, or event handlers.
Basic Usage
"use client";
import { LiquidGlass } from "liquid-glass-web-react";
export function GlassPreviewCard() {
  return (
    <LiquidGlass draggable>
      <img
        src="/images/product-dashboard.jpg"
        alt="Product analytics dashboard"
        style={{ width: "100%", display: "block", borderRadius: 24 }}
      />
    </LiquidGlass>
  );
}
This renders a draggable lens over the image. The wrapped element remains normal React content, so you may place cards, buttons, links, video, or full dashboard panels inside the wrapper.
Advanced Examples
Create a custom glass lens over a hero section
"use client";
import { LiquidGlass } from "liquid-glass-web-react";
export function MarketingHeroGlass() {
  return (
    <LiquidGlass
      x={0.72}
      y={0.38}
      width={260}
      height={150}
      radius={56}
      strength={0.14}
      chromaticAberration={0.28}
      curvature={0.82}
      glow={0.18}
      edgeHighlight={0.34}
      shadow="0 18px 60px rgba(0,0,0,.28)"
      className="relative overflow-hidden rounded-3xl"
    >
      <section className="min-h-[420px] bg-[url('/images/app-preview.jpg')] bg-cover bg-center p-10">
        <div className="max-w-md rounded-2xl bg-black/40 p-6 text-white">
          <h1 className="text-4xl font-semibold">Revenue analytics</h1>
          <p className="mt-3 text-sm text-white/80">
            Review growth, churn, and campaign performance from one dashboard.
          </p>
        </div>
      </section>
    </LiquidGlass>
  );
}
Use x and y as fractions of the container. A value of 0.5 places the lens center halfway across the wrapper. Use width, height, and radius to match the UI element you want to highlight.
Use the lens as a selection indicator
"use client";
import { useState } from "react";
import { LiquidGlass } from "liquid-glass-web-react";
const plans = ["Starter", "Pro", "Business"];
export function PlanSelector() {
  const [selectedPlan, setSelectedPlan] = useState(1);
  return (
    <LiquidGlass
      x={(selectedPlan + 0.5) / plans.length}
      y={0.5}
      width={112}
      height={48}
      radius="auto"
      strength={0.1}
      edgeHighlight={0.3}
      glow={0.14}
      className="inline-block rounded-full bg-slate-950 p-2"
    >
      <div className="grid grid-cols-3 gap-2">
        {plans.map((plan, index) => (
          <button
            key={plan}
            type="button"
            onClick={() => setSelectedPlan(index)}
            className="relative z-10 rounded-full px-5 py-3 text-sm text-white"
          >
            {plan}
          </button>
        ))}
      </div>
    </LiquidGlass>
  );
}
This pattern fits tabs and segmented controls because the lens follows state. Use the imperative handle for animation loops that update every frame.
"use client";
import { useEffect, useRef } from "react";
import { LiquidGlass, type LiquidGlassHandle } from "liquid-glass-web-react";
export function AnimatedGlassStrip() {
  const lensRef = useRef<LiquidGlassHandle>(null);
  useEffect(() => {
    let frame = 0;
    let animationId = 0;
    const tick = () => {
      frame += 0.015;
      const x = 0.5 + Math.sin(frame) * 0.32;
      lensRef.current?.setPosition(x, 0.5);
      animationId = requestAnimationFrame(tick);
    };
    animationId = requestAnimationFrame(tick);
    return () => cancelAnimationFrame(animationId);
  }, []);
  return (
    <LiquidGlass
      ref={lensRef}
      width={180}
      height={90}
      strength={0.12}
      chromaticAberration={0.25}
    >
      <div className="grid grid-cols-4 gap-4 rounded-3xl bg-slate-900 p-6">
        <div className="h-24 rounded-2xl bg-white/10" />
        <div className="h-24 rounded-2xl bg-white/15" />
        <div className="h-24 rounded-2xl bg-white/10" />
        <div className="h-24 rounded-2xl bg-white/15" />
      </div>
    </LiquidGlass>
  );
}
setPosition(x, y) updates the lens position directly. It does not regenerate the displacement map or trigger a React render. ([GitHub][2])
Use the DOM engine outside React
import { LiquidGlassEngine } from "liquid-glass-web-react";
const container = document.querySelector<HTMLElement>("[data-glass-container]");
const filtered = document.querySelector<HTMLElement>("[data-glass-content]");
const defsHost = document.querySelector<SVGDefsElement>("[data-glass-defs]");
if (container && filtered && defsHost) {
  const engine = new LiquidGlassEngine({
    container,
    filtered,
    defsHost,
  });
  engine.setPosition(0.5, 0.5);
  engine.setOptions({
    width: 220,
    height: 140,
    strength: 0.12,
  });
}
Use the engine when a custom renderer, vanilla JavaScript widget, or WebGL experiment needs the same displacement map logic outside a React tree.
Props and API Reference
| Prop | Type | Default | Practical Use |
|---|---|---|---|
x, y | number | 0.5 | Sets the lens center as a fraction of the wrapper. |
width, height | number | 160, 120 | Sets lens dimensions in pixels. |
radius | number | "auto" | "auto" | Sets the corner radius. Use "auto" for a pill shape. |
strength | number | 0.1 | Controls refraction intensity. |
chromaticAberration | number | 0.2 | Adds color fringing near the lens edge. |
blur | number | 0 | Adds blur to refracted content. |
depth | number | 10 | Sets the width of the refracting edge band. |
curvature | number | 0.65 | Moves the lens profile from flat to dome-like. |
splay | number | 1 | Keeps edge refraction more perpendicular to the lens edge. |
glow | number | 0.1 | Adds inner specular glow. |
edgeHighlight | number | 0.25 | Adds a bright rim along the lens edge. |
specular | number | 1 | Sets the master intensity for the specular pass. |
specularAngle | number | 45 | Sets the light direction in degrees. |
draggable | boolean | false | Lets the user drag the lens. |
shadow | boolean | string | true | Enables the default shadow or accepts a custom box-shadow value. |
quality | number | 512 | Sets the displacement map resolution. |
onMove | (x, y) => void | undefined | Receives lens position changes. |
onMapGenerated | (url) => void | undefined | Receives the PNG data URL when the map regenerates. |
The component also accepts normal <div> props such as className and style. It renders a position: relative wrapper around its children. ([GitHub][2])
Imperative Handle
A ref exposes:
{
  element: HTMLDivElement;
  engine: LiquidGlassEngine;
  setPosition: (x: number, y: number) => void;
}
Use setPosition() for gesture libraries, pointer tracking, timeline animation, or requestAnimationFrame loops.
Low-Level Exports
LiquidGlassEnginecomputeDisplacementMaprenderDisplacementMapDEFAULT_OPTIONS
These exports are useful when a project needs custom DOM wiring, WebGL integration, or direct access to the displacement map.
Alternatives and Related Resources
- 40+ Apple Liquid Glass-inspired UI Components for Next.js
- Create Realistic Liquid Glass UI Components
- Best Free Liquid Glass Effects In JavaScript & CSS
- Draggable Liquid Glass Effect with JavaScript and SVG Filters
- Modern Glassmorphism-style Dashboard Template for Next.js
FAQs
Q: How do I install it in a Next.js project?
A: Run npm install liquid-glass-web-react, then import and use the component inside a Client Component with “use client”.
Q: The glass lens doesn’t appear on my site in Safari. What’s wrong?
A: Check that the container size isn’t extremely large — Safari limits the source dimensions for SVG filters. The engine logs a warning if the element exceeds the safe threshold. Reduce the container’s rendered size or apply the lens to a smaller subregion.
Q: Can I animate the lens position without re‑rendering the whole React tree?
A: Yes. Use a ref and call lensRef.current.setPosition(x, y). This updates only the filter attributes and never triggers a React render or map regeneration. Safe to call once per frame.
Q: How do I use the liquid glass effect on a <video> in Safari?
A: Safari does not feed video into SVG filters. For live video refraction, you’ll need a WebGL renderer. Import computeDisplacementMap from the package to generate the same map data and feed it to your shader.
Q: Can I use it without React?
A: Absolutely. Import LiquidGlassEngine and instantiate it with DOM references. The engine handles filter creation and map updates. No React required.