The Future of Web Dev
The Future of Web Dev
Simple Nuxt Auth Module with JWT & Social Login
Add secure authentication to your Nuxt app with Simple Nuxt Auth. Features JWT tokens, social login, and automatic token refresh capabilities.

Simple Nuxt Auth is a flexible authentication module for Nuxt 3 applications that require integration with separate backend authentication systems.
It handles token-based authentication using JWT and supports social login providers like Google.
Features
🔄 Token Refresh Includes functionality for automatically refreshing access tokens to maintain user sessions without frequent logins.
🛡️ Route Protection Comes with built-in middleware to protect routes and restrict access to authenticated or guest users only.
⚡ SSR Support Works correctly with both client-side and server-side rendered applications.
🔐 JWT Authentication Secure, token-based authentication connects to your backend API.
🧑🤝🧑 Social Login Built-in support for Google OAuth, with options for both client-side and server-side callback handling.
🍪 Cookie Management Stores tokens in secure, HTTP-only cookies to protect against cross-site scripting (XSS) attacks.
Use Cases
- E-commerce Applications: Implement user authentication for shopping platforms with existing backend systems handling payment and order processing.
- Content Management Systems: Create authenticated admin panels and user dashboards that connect to headless CMS backends.
- SaaS Applications: Build multi-tenant applications where users need secure access to their data through existing API services.
- Corporate Portals: Develop internal company portals that integrate with existing enterprise authentication systems.
- Social Platforms: Create community-driven applications with social login capabilities and user-generated content management.
Installation
1. Install the nuxt-auth package.
# Using pnpm
pnpm add @andychukse/nuxt-auth
# Using yarn
yarn add @andychukse/nuxt-auth
# Using npm
npm install @andychukse/nuxt-auth
2. Add the module to the modules array in your nuxt.config.ts file.
export default defineNuxtConfig({
  modules: [
    '@andychukse/nuxt-auth'
  ]
})
3. Configure the module in nuxt.config.ts by adding an auth object. This is where you will define your backend API endpoints, token settings, and social login credentials.
export default defineNuxtConfig({
  modules: ['@andychukse/nuxt-auth'],
  auth: {
    isEnabled: true,
    baseUrl: '/api/auth', // Your backend authentication API base URL
    endpoints: {
      signIn: { path: '/login', method: 'post' },
      signOut: { path: '/logout', method: 'post' },
      signUp: { path: '/register', method: 'post' },
      getSession: { path: '/session', method: 'get' },
      google: { path: '/google', method: 'post' },
    },
    token: {
      cookieName: 'auth.token',
      maxAgeInSeconds: 86400, // 1 day
    },
    social: {
      google: {
        clientId: 'your-google-client-id.googleusercontent.com',
      }
    },
  },
})
Usage
You can now interact with the module through the useAuth() composable. This function returns reactive state variables and methods to manage authentication flows within your application components.
Basic Authentication Flow
To get the current user’s status, you can use the status and data properties from useAuth(). The status can be ‘loading’, ‘authenticated’, or ‘unauthenticated’. The signOut function logs the user out and automatically handles redirection.
<template>
<div>
<div v-if="status === 'loading'">
<p>Loading...</p>
</div>
<div v-else-if="status === 'authenticated'">
<h1>Welcome {{ data?.name || data?.email }}!</h1>
<button @click="handleSignOut">Sign Out</button>
</div>
<div v-else>
<h1>Please sign in</h1>
</div>
</div>
</template>
<script setup>
const { status, data, signOut } = useAuth()
const handleSignOut = async () => {
try {
await signOut()
// The user is redirected automatically after sign-out.
} catch (error) {
console.error('Sign out failed:', error)
}
}
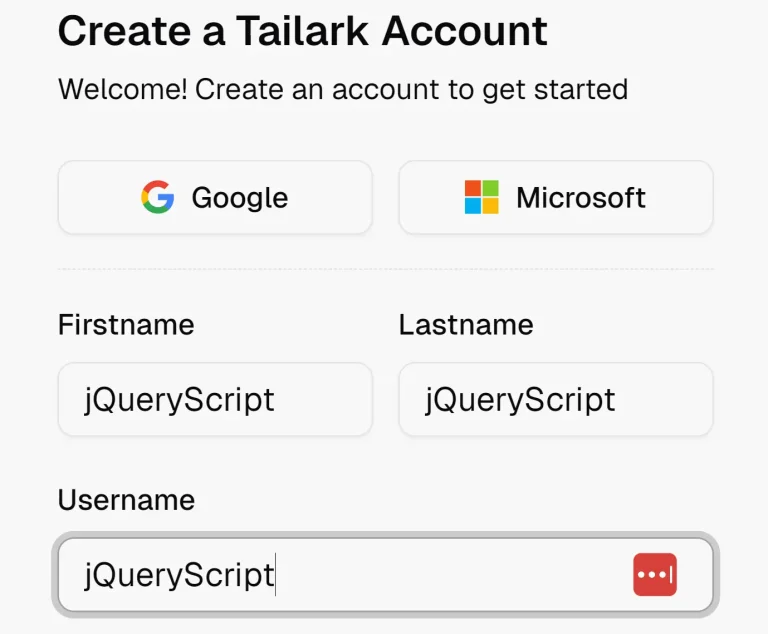
</script>Sign In and Registration
You can build sign-in and registration forms using the signIn and signUp functions. These functions take user credentials as an argument and can accept a callbackUrl to redirect the user after a successful action.
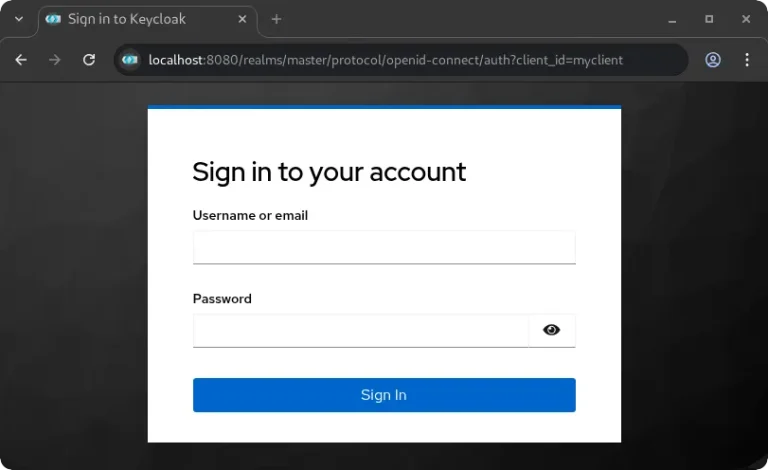
Here is an example of a sign-in form.
<template>
<div class="auth-form">
<h2>Sign In</h2>
<form @submit.prevent="handleSignIn">
<!-- Form inputs for email and password -->
<button type="submit" :disabled="loading">
{{ loading ? 'Signing in...' : 'Sign In' }}
</button>
<p v-if="error">{{ error }}</p>
</form>
</div>
</template>
<script setup>
const { signIn, loading } = useAuth()
const form = reactive({ email: '', password: '' })
const error = ref('')
const handleSignIn = async () => {
try {
error.value = ''
await signIn(form, { callbackUrl: '/dashboard' })
} catch (err) {
error.value = err.message || 'Sign in failed'
}
}
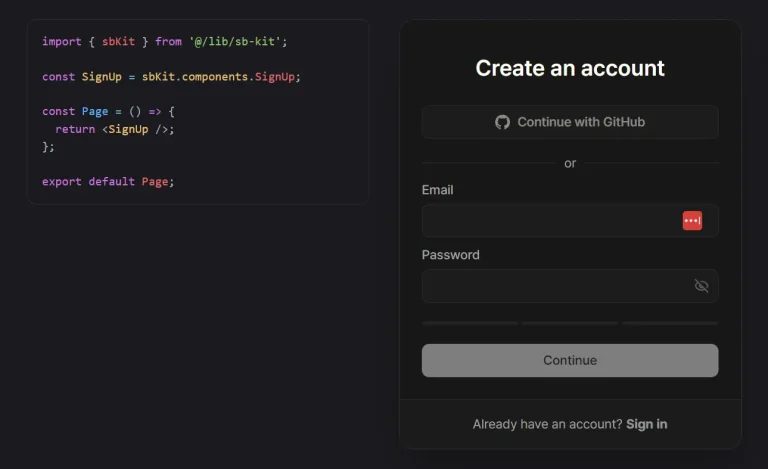
</script>Here is a registration form example.
<template>
  <div class="auth-form">
    <h2>Create Account</h2>
    <form @submit.prevent="handleRegister">
      <!-- Form inputs for name, email, and password -->
      <button type="submit" :disabled="loading">
        {{ loading ? 'Creating account...' : 'Create Account' }}
      </button>
      <p v-if="error">{{ error }}</p>
    </form>
  </div>
</template>
<script setup>
const { signUp, loading } = useAuth()
const form = reactive({ name: '', email: '', password: '' })
const error = ref('')
const handleRegister = async () => {
  try {
    error.value = ''
    await signUp({
      name: form.name,
      email: form.email,
      password: form.password
    }, { callbackUrl: '/welcome' })
  } catch (err) {
    error.value = err.message || 'Registration failed'
  }
}
</script>
Social Authentication with Google
The module supports both client-side and server-side OAuth flows.
For a client-side flow, you first redirect the user to Google using initiateSocialLogin.
<script setup>
const { initiateSocialLogin } = useAuth()
const handleGoogleSignIn = async () => {
  try {
    await initiateSocialLogin('google', {
      callbackUrl: '/dashboard'
    })
  } catch (err) {
    console.error('Google sign in failed:', err)
  }
}
</script>
Then, you create a callback page at the specified redirectUri. This page uses handleSocialCallback to process the authorization code from Google and complete the login.
<!-- /pages/auth/google/callback.vue -->
<template>
  <div>
    <p v-if="loading">Processing Google authentication...</p>
    <p v-if="error">Authentication failed: {{ error }}</p>
  </div>
</template>
<script setup>
const { handleSocialCallback } = useAuth()
const route = useRoute()
const loading = ref(true)
const error = ref('')
onMounted(async () => {
  try {
    const { code, state } = route.query
    if (code) {
      await handleSocialCallback('google', code, state)
    } else {
      throw new Error('No authorization code received')
    }
  } catch (err) {
    error.value = err.message
  } finally {
    loading.value = false
  }
})
</script>
Route Protection
You can protect pages using the auth and guest middleware. Add the middleware to a page’s metadata to control access.
The auth middleware restricts access to authenticated users, while the guest middleware is for pages like login or registration that should only be accessible to unauthenticated users.
<script setup>
// This page is only accessible to authenticated users.
definePageMeta({
  middleware: 'auth'
})
</script>
<template>
  <div>
    <h1>Protected Page</h1>
  </div>
</template>
Related Resources
- Nuxt 3 Documentation – Official Nuxt 3 framework documentation with comprehensive guides and API references.
- NextAuth.js – Authentication library for Next.js applications with similar OAuth and JWT capabilities.
- Supabase Auth – Backend-as-a-Service authentication solution with built-in social providers and JWT handling.
- Auth0 – Enterprise authentication and authorization platform with social login options and security features.
FAQs
Q: Does Simple Nuxt Auth work with existing backend authentication systems?
A: Yes. You configure the API endpoints to match your existing authentication routes, and the module handles token management and OAuth flows on the frontend.
Q: Can I use multiple social login providers besides Google?
A: Currently, the module includes built-in support for Google OAuth. However, the architecture allows for extending social authentication to other providers by configuring additional OAuth endpoints in your backend and updating the social configuration.
Q: How does token refresh work in Simple Nuxt Auth?
A: The module automatically handles token refresh using refresh tokens stored in HTTP-only cookies. When an access token expires, the module sends the refresh token to your configured refresh endpoint and updates the stored tokens seamlessly.
Q: Is Simple Nuxt Auth compatible with server-side rendering?
A: Yes, the module fully supports both SSR and client-side rendering. It includes server-side cookie handling and proper hydration to maintain authentication state across different rendering modes.