The Future of Web Dev
The Future of Web Dev
startercn: Build a shadcn/ui Component Registry with Docs and Landing Page
Use Startercn to publish custom shadcn/ui components from a Next.js app with Tailwind CSS, Fumadocs, and shadcn CLI support.
startercn is a Next.js template that turns your React components into a shadcn registry. It bundles a documentation site, a build pipeline for registry.json output, and everything you need so that other developers can install your components using shadcn CLI npx shadcn add.
When you fork the template, you get a working docs site powered by Fumadocs, a preconfigured build step that generates the registry metadata, and a local development environment that mirrors how your registry will behave in production.
You replace the placeholder component, update one JSON file, and your custom component becomes distributable as a Shadcn registry item.
Features
- Builds shadcn registry JSON files from a root
registry.jsonmanifest. - Keeps component source under
registry/new-york. - Writes generated registry endpoints to
public/r - Includes a Fumadocs documentation area under
content/docs. - Uses
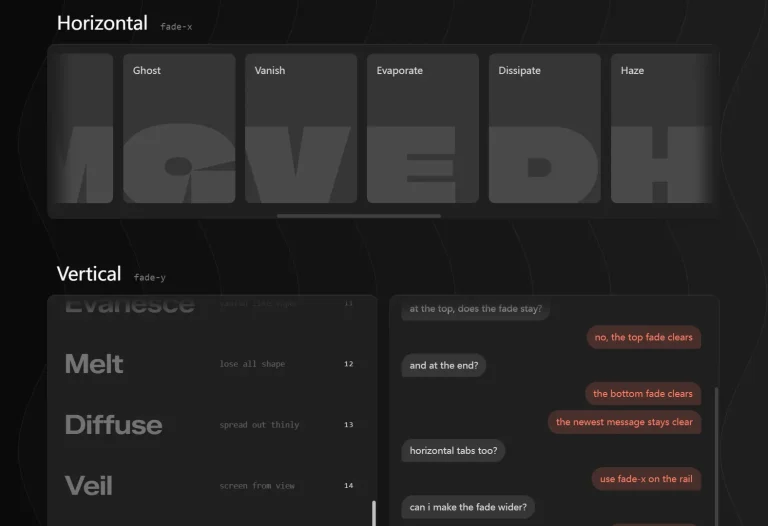
components.jsonfor thenew-yorkstyle, Tailwind settings, and import aliases. - Includes motion, audio, haptic, animated-icon, and view-transition integrations for the supplied site interface.
How To Use It
Table Of Contents
Create a Registry Project
Create a repository from the template on GitHub, or clone the source locally:
git clone https://github.com/shadcn-labs/startercn.git acme-ui-registry
cd acme-ui-registry
pnpm install
pnpm dev
The project includes a registry:build script that runs the shadcn build command against registry.json and writes the generated files to public/r.
Basic Usage
Create a reusable component in registry/new-york/status-chip.tsx:
import * as React from "react";
import { cn } from "@/lib/utils";
export interface StatusChipProps
  extends React.ComponentProps<"span"> {
  tone?: "neutral" | "success" | "warning";
}
const toneClasses = {
  neutral: "bg-muted text-muted-foreground",
  success: "bg-emerald-100 text-emerald-800",
  warning: "bg-amber-100 text-amber-900",
};
function StatusChip({
  className,
  tone = "neutral",
  children,
  ...props
}: StatusChipProps) {
  return (
    <span
      className={cn(
        "inline-flex items-center rounded-full px-2.5 py-1 text-xs font-medium",
        toneClasses[tone],
        className
      )}
      {...props}
    >
      {children}
    </span>
  );
}
export { StatusChip };
Keep browser-only logic out of static display components. Add "use client" at the top of registry files that use React state, event handlers, browser APIs, or other client-side features.
Register the Component
Replace the starter placeholder in registry.json with an item for the new component:
{
  "$schema": "https://ui.shadcn.com/schema/registry.json",
  "name": "acme-ui-registry",
  "homepage": "https://ui.example.com",
  "items": [
    {
      "name": "status-chip",
      "type": "registry:ui",
      "title": "Status Chip",
      "description": "A compact label for deployment, payment, and workflow states.",
      "files": [
        {
          "path": "registry/new-york/status-chip.tsx",
          "type": "registry:ui",
          "target": "@ui/status-chip.tsx"
        }
      ]
    }
  ]
}
The items array defines the catalog entries available from your registry. Each item declares its type, source files, dependencies, and optional destination paths.
Build the Registry Endpoint
Run the registry build after changing source files or registry.json:
pnpm registry:build
pnpm dev
The build creates a payload such as:
public/r/status-chip.jsonAfter deployment, the component becomes available at:
https://ui.example.com/r/status-chip.jsonThe shadcn CLI accepts registry item URLs through its add command.
Install the Component in Another Project
Initialize shadcn/ui in the consuming project if it does not already contain a components.json file:
pnpm dlx shadcn@latest initThen install the published item:
pnpm dlx shadcn@latest add https://ui.example.com/r/status-chip.jsonUse the component from the configured UI directory:
import { StatusChip } from "@/components/ui/status-chip";
export function DeploymentStatus() {
  return <StatusChip tone="success">Deployment complete</StatusChip>;
}
The CLI uses components.json to understand project aliases and component locations.
File Structure and Customization Notes
| Path | Purpose |
|---|---|
app/ | Next.js App Router pages, layouts, and route handlers. |
registry/new-york/ | TypeScript source files for published registry components. |
registry.json | Registry catalog and item metadata. |
content/docs/ | MDX documentation content for the registry site. |
public/r/ | Generated registry JSON payloads. |
components.json | shadcn/ui style, Tailwind, and import alias configuration. |
Startercn includes a new-york shadcn/ui configuration with aliases for components, UI files, hooks, utilities, and library files.
Use the @ui/ target placeholder for components intended for projects with different directory structures. The shadcn CLI resolves this placeholder through the recipient project’s components.json configuration.
How the Registry Publishing Flow Works
- Add a component, hook, utility, or block under
registry/new-york/. - Add an item entry to
registry.json. - Run
pnpm registry:buildto generate JSON payloads inpublic/r. - Deploy the Next.js app.
- Share the generated item URL through
shadcn add.
Implementation Notes
- Run
pnpm registry:buildafter each registry source or manifest change. The productionpnpm buildscript already runs this command before the Next.js build. - Do not edit files inside
public/rmanually. Treat them as build output. - Keep the component name, source filename, registry item name, and public endpoint aligned. A mismatch makes installation and maintenance harder.
- Add
registryDependenciesfor components that require other shadcn registry items, such asbutton,dialog, or a component from your own registry. - Validate larger registries before deployment with the shadcn registry validation command. It checks schema errors, duplicate names, included manifests, and referenced files.
Alternatives and Related Resources
- shadcn/ui Registry Documentation
- 200+ Free Copy-Paste UI Components – shadcn.io
- Shadcn Space: Extended Components and Blocks
- Build Modern Documentation Sites with Fumadocs
FAQs
Q: Do I need shadcn/ui installed in the consuming project to use a startercn-built registry?
A: Consumers need a components.json file and the shadcn CLI configured in their project. They do not need any of startercn’s own UI components installed, only the CLI plumbing that reads registry URLs.
Q: Why does my component fail to install after I edit the source file?
A: Run pnpm registry:build after any change to a component or to registry.json. The CLI installs from the generated JSON files under /r/, not from the live source files.
Q: Do I need to publish every component in one registry?
A: No. Each component gets its own entry in registry.json and its own JSON output file. Consumers can install components one at a time from individual URLs instead of pulling the entire catalog.
Q: Where does Startercn place generated registry files?
A: The included registry build script outputs JSON files to public/r. Each item becomes a public endpoint after deployment.
Q: When should a registry component use "use client"?
A: Add it when the component relies on state, event handlers, effects, or browser APIs. Static presentational components should remain server-compatible.