The Future of Web Dev
The Future of Web Dev
Golden Ratio UI Framework for Next.js Applications – LiftKit
Build visually balanced web apps with LiftKit's golden ratio component system. Features optical spacing, dynamic colors, and Material Design 3 styles.
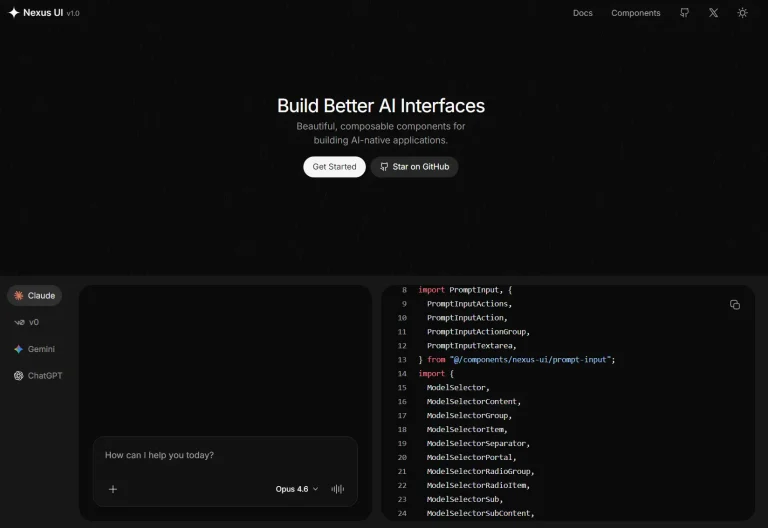
LiftKit is a UI component library for Next.js that applies mathematical principles to create visually balanced interfaces using the golden ratio.
It centers around a collection of formulas and variables that generate advanced visual design features. These include optical spacing corrections and dynamic color systems powered by Material Design 3 principles.
The primary distinction between LiftKit and other design systems is its approach to spacing, scaling, and symmetry. Most systems are absolute, using static units like pixels and grid-based layouts.
LiftKit is a relative system that employs relative units (em, rem), layouts based on the golden ratio, exponential scaling for typography and components, and optical symmetry to correct for visual imbalances.
This method produces designs where all elements, from margins to font sizes, render in proportion to each other.
Features
🎯 Golden ratio-based spacing and scaling system for mathematically balanced layouts
📐 Optical symmetry corrections that improve visual perception over literal symmetry
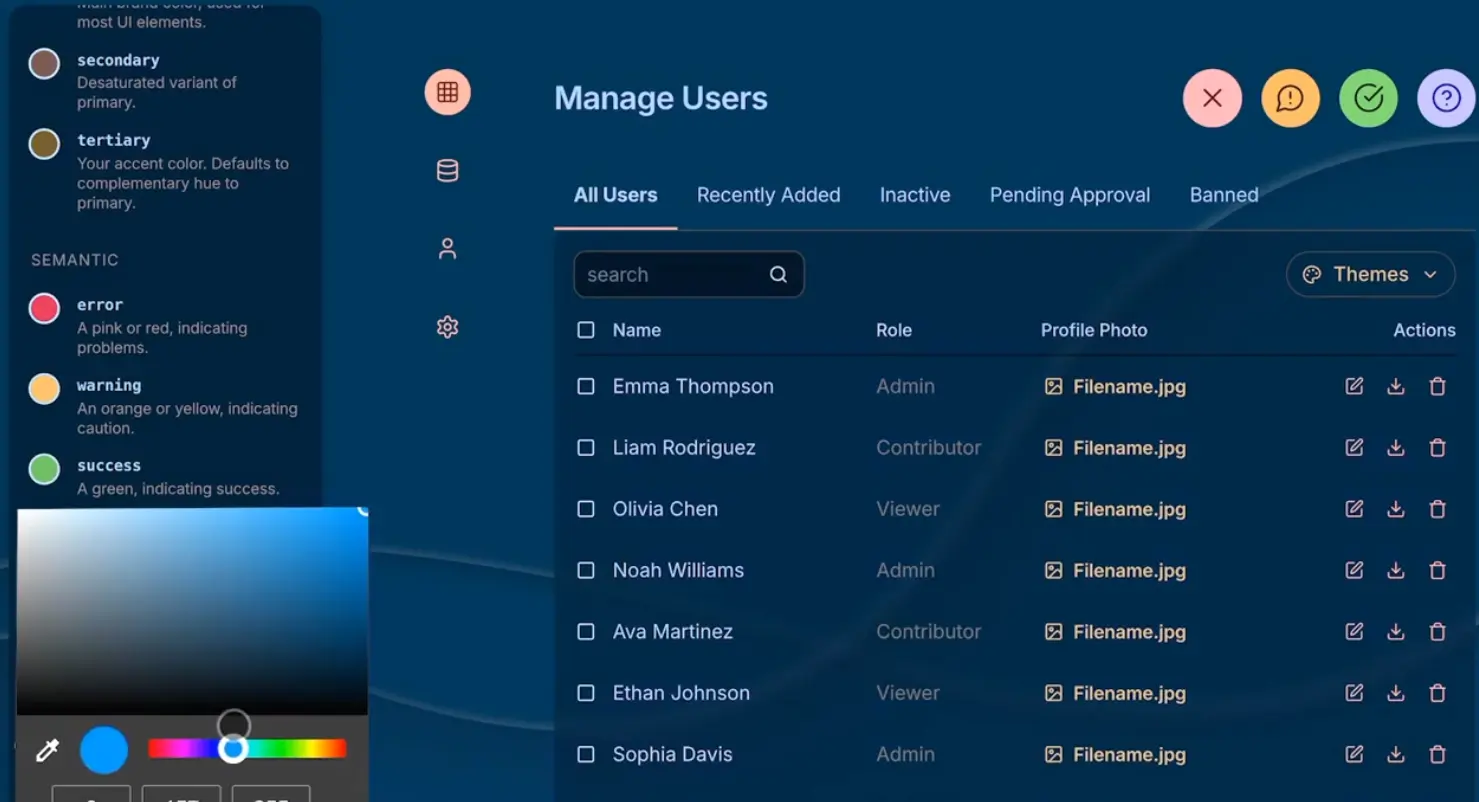
🎨 Dynamic color system integrated with Material Design 3 specifications
📱 Relative measurement units (em, rem, %) for responsive design compatibility
🧩 Modular component architecture with automatic dependency management
🚀 Built-in CSS optimization that removes unused styles at build time
📦 Template project option for rapid project initialization
🎪 Component registry system for easy updates and maintenance
How to Use It
1. You have two approaches for integrating LiftKit into your project.
Template Project Setup
Clone the pre-configured template repository from GitHub
git clone https://github.com/Chainlift/liftkit-template.gitInstall the required dependencies:
cd liftkit-template
npm install
The template includes a blank Next.js application with all necessary LiftKit configuration files pre-installed. You can immediately begin installing components without additional setup steps.
Existing Project Integration
For existing Next.js applications, navigate to your project root directory and install the LiftKit CLI as a development dependency:
npm install @chainlift/liftkit --save-devInitialize LiftKit configuration in your project:
npx liftkit initThe initialization process will prompt you to add an “add” script to your package.json file. Accept this prompt to enable the component installation commands. You will also be prompted to install shadcn as a development dependency, which you should accept.
This initialization creates two essential configuration files in your project root: components.json and tailwind.config.ts. Note that you do not need to install Tailwind CSS itself, as LiftKit only requires the configuration file.
2. LiftKit provides three installation approaches based on your project requirements. Each method installs the necessary CSS and TypeScript definitions automatically.
Complete Installation
Install all available components, styles, and type definitions:
npm run add allThis approach provides immediate access to the full LiftKit component library.
Individual Component Installation
Install specific components using kebab-case naming:
npm run add button
npm run add text-input
npm run add dropdown
Individual installation automatically includes dependent components. For example, installing the Badge component also installs the Icon component since Badge relies on Icon functionality.
Base Installation
Install only the core CSS variables and TypeScript definitions without any components:
npm run add baseThis minimal approach allows you to build custom components using LiftKit’s design system variables while keeping your bundle size minimal.
3. After installing components, import LiftKit’s index CSS file into your application’s global stylesheet:
@import url('@/lib/css/index.css')This import provides the core design system variables and component styles. The CSS is automatically optimized at build time to remove unused styles.
4. After installation, import and use LiftKit components in your applications:
import { Button, Heading, Card } from '@/components/ui'
export default function ExamplePage() {
  return (
    <Card>
      <Heading level={2}>Welcome to LiftKit</Heading>
      <Button
        label="Get Started"
        variant="filled"
        size="medium"
        color="primary"
        startIcon="play"
      />
    </Card>
  )
}
Components support various props for customization, including size, color, variant, and icon options. The framework automatically applies golden ratio proportions to spacing and sizing based on your selections.
Related Resources
- Material Design 3 – Google’s new design system that provides the color and theming foundation for LiftKit’s dynamic color system.
- shadcn/ui – Component library that shares architectural patterns with LiftKit and provides additional component inspiration.
- Next.js Documentation – Official documentation for the React framework that LiftKit is designed to work with seamlessly.
- Golden Ratio in Design – Comprehensive guide explaining the mathematical principles underlying LiftKit’s design approach.
FAQs
Q: Does LiftKit require Tailwind CSS to function?
A: LiftKit does not require Tailwind CSS installation. The framework only needs a tailwind.config.ts configuration file, which is a current requirement of the component registry system. You do not need to install or configure Tailwind CSS itself.
Q: How does LiftKit handle unused CSS in production builds?
A: The framework automatically removes unused CSS during the build process. You can install components freely during development without worrying about bundle size, as only the styles for components you actually use will be included in your production build.
Q: Can I use LiftKit components with other design systems?
A: LiftKit components are designed to work as a complete system based on golden ratio principles. Mixing with other design systems may create visual inconsistencies since LiftKit uses relative measurements and optical corrections that may conflict with other systems’ approaches.
Q: What happens if I encounter React 19 warnings during installation?
A: If you receive warnings about React 19 compatibility, select “Use –force” to proceed with the installation. LiftKit components are compatible with React 19, and the warning is a precautionary measure that can be safely bypassed.